Essential Tools
At the very least every motorcyclist should own and regularly use a tire pressure gauge. If you do nothing more than that important safety check and choose to let the bike shop handle any maintenance and repairs, that's fine. Modern motorcycles have reached automotive levels of reliability and they can be ridden many miles with minimal care. But, if you want the personal satisfaction of doing it yourself or you own an older, finicky machine that demands regular fiddling, you're going to need more than a tire gauge, and we've assembled what we feel are the "basics" in this article.
However, these are general purpose tools and while they'll be sufficient for most repair and maintenance tasks, for some service work there's no substitute for a tool that's designed for a specific purpose, and we'll explore those tools later in a follow-up article.
Tire Pressure Gauge
The phrase "Your tires are the only thing between you and the road" may sound cliché but with a motorcycle it can literally be true. Improperly inflated tires on a car can cause wear and handling problems and low pressure could even result in a blow-out, but you'll remain upright, whereas you're most likely going down if you experience similar tire problems on a bike. Besides making your bike handle poorly, low tire pressure can make tires run hotter, which can drastically reduce their lifespan and even result in total failure. In extreme cases low tire pressure can result in rim damage and could even cause the bead to unseat and come off the rim. Overinflation can also be problematic, reducing tire contact and traction, and causing a harsh reaction to bumps, which can destabilize the bike.

To be safe, check your tire pressure at least once a week if you ride regularly, or before every ride if you're on the bike infrequently. Inflation pressure specs can be found in your owner's manual. The Pit Posse Pencil Style High Pressure Gauge has a range of 10-50 psi, which encompasses the inflation specs for most motorcycles, and it's inexpensive and small enough that it can easily be carried on your person or on a bike with even a limited amount of storage space. The dial-type Bike Master Pressure Gauge has an easy-to-read 0-60 psi dial and a flexible hose that enables valve stem access even with big brake rotors.

Air Compressor
Even a tire that's in good shape, with no punctures and a properly sealing valve stem, will lose air over time, it's normal. So, what do you do if your tires are low? If they're only a few pounds low you can probably air up at a service station, but keep in mind that tire inflation pressure specs are for cold tires. Riding to the station will heat up the tires, so how much air should you put in? And if your tire pressure is significantly low, the bike's not safe to ride. Airing up at home is the solution, but that doesn't mean you have to invest in some big expensive air compressor. We offer small, portable, and inexpensive air compressors that are designed just for tire filling.
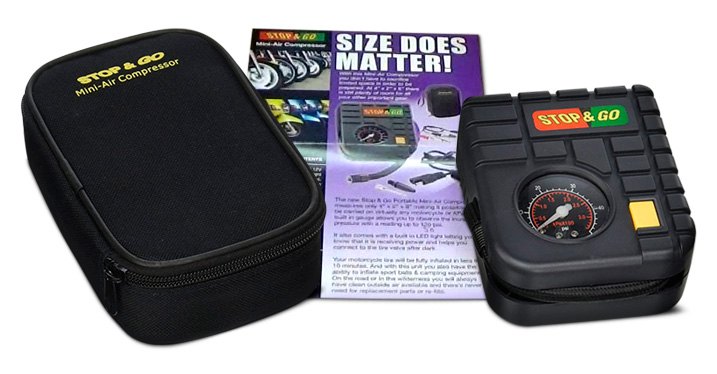
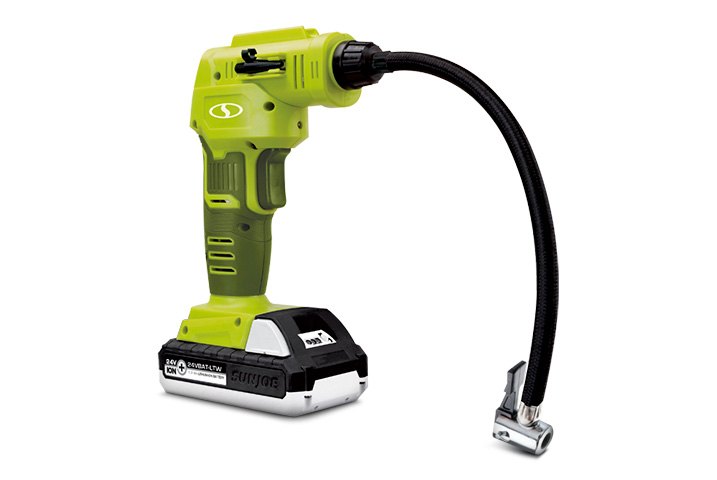
The Stop & Go 12V Mini Tire Air Compressor features a built-in 0-50 psi gauge and LED light, and it can be connected right to your bike's 2-pin SAE harness battery maintainer connector. With the 66" power cord you'll be able to easily reach both tire valve stems, plus it also comes with a 12" extension with alligator clips and a 36" extension with a cigarette lighter adapter. For home use it's tough to beat the Sun Joe iON+ Tank 24V Cordless Air Compressor Kit. Keep the 1.3Ah rechargeable battery on the included battery charger and you'll be ready to go when you want to air up your tires or pump up inflatables. Just set the desired pressure on the Sun Joe's digital display and pull the trigger; it will stop at your preset pressure. The 15-in. hose will allow you to get to any valve stem. And if you want to do things like clean air filters, blow out carburetor passages and operate air tools, check out the selection of air compressors at TOOLSiD.com, where you'll find everything from small oil-free portable pancake compressors to big 60-gal. uprights.
Service Manual
If you're serious about working on your motorcycle, then you need a service manual. Even if you're an old hand at bike wrenching, a service manual will contain the torque, adjustment, assembly clearance, and tuning specs that are unique to that motorcycle, so you can get the best results. But if you're a beginner a service manual is an invaluable tool because system and component troubleshooting, adjustments, disassembly, inspection, and reassembly, are detailed in step-by-step procedures.
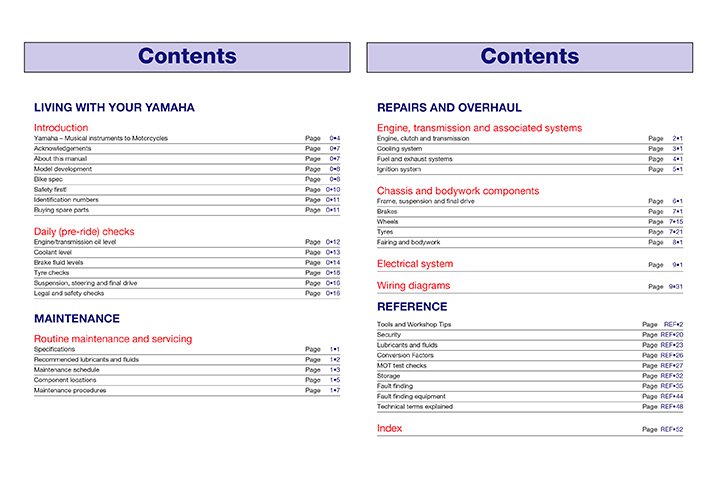
Factory service manuals are the most comprehensive, but they can be pricey, and you may end up paying a lot of money for information you may not want or need. Our motorcycle service manuals are much more affordable, and they've been written and compiled by industry pros at highly reputable publications with long histories in the motorcycle service information business. They know the type of service info that DIYers want and how to present it in the most useful way possible. Each volume contains data that's tailored to your year, make, and model motorcycle, and organized by system so you can easily find the information you want. Inside you'll find routine maintenance procedures, and tuning, troubleshooting, replacement and adjustment techniques, accompanied by informative charts, illustrations, and photos. Even if you elect not to do the work yourself, the information within will help you make a more informed repair decision.
Safety
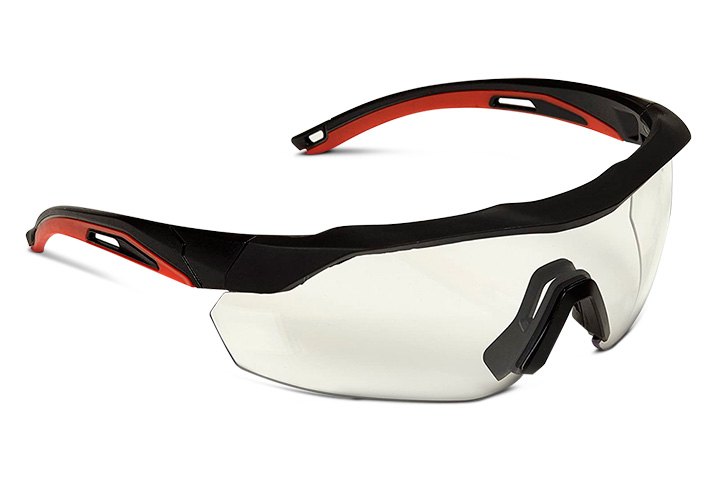
Protect your eyes from airborne debris and splashed chemicals with safety glasses or goggles when grinding, and working with compressed air and aerosol solvents, and fuel under pressure. They should also be worn any time you're working under the bike to shield your eyes from dirt and debris. Protect your hands with gloves when handling oil, solvents, and fuel. Wipe up spills immediately to prevent slipping and falling on slippery surfaces and have a readily accessible Class ABC fire extinguisher in the work area.
Hand Tools
With maybe the exception of fluid checks, there isn't much you can do on your motorcycle without tools. We've assembled a list of basic hand tools that will allow you to work on just about every part of your motorcycle. Some tools you'll use on a regular basis, others only occasionally, but all of them will be needed at one time or another to complete a job.
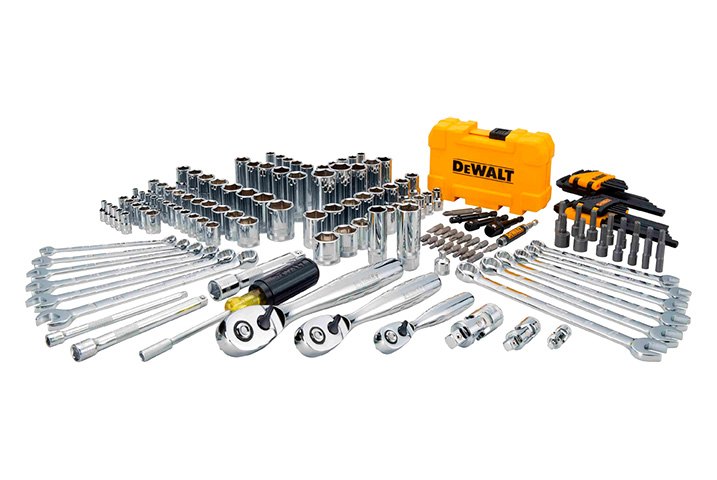
If you're just starting out, buying a mechanic's tool set may save you money in the long run compared to buying individual tools or wrench, socket and screwdriver sets, but if you don't want to, or can't, lay out that kind of coin right away there's nothing wrong with buying tools as you need them. And if you are considering a large tool set, look over the contents carefully to make sure it contains the tools you want, otherwise it may be false economy.
Metric or SAE?
Unless you have a Harley-Davidson, you'll only need metric tools. Metric tools are sized in millimeters, i.e. 10mm, 12mm, 13mm, etc. while SAE tools come in fractions of an inch: 3/8", 7/16", 1/2" and so on. Older Harleys are all SAE, but newer Sportsters and Big Twins have some Japanese made parts, so you'll need both metric and SAE tools to service them. The exception to the rule is older British bikes, which require Whitworth or British Standard tools.
Wrenches
There are open-end wrenches and box-end wrenches with different sizes at each end, like 9/16"-5/8" and 12mm-14mm, but the most practical wrenches, and best use of your tool buying funds, are combination wrenches. These have the U-shaped open end at one end of the wrench and the box end at the other, in the same size. The open end grips a hex fastener at the flats and is good for fastener manipulation in hard-to-get-at places and when a box end would be impossible to apply to the fastener - think clutch cable or shifter linkage rod adjustment. Because a box wrench applies force to all the hex flats, it should be used for loosening and tightening where possible. When such leverage is applied to the open end, the fastener could become rounded off and the wrench could slip off.
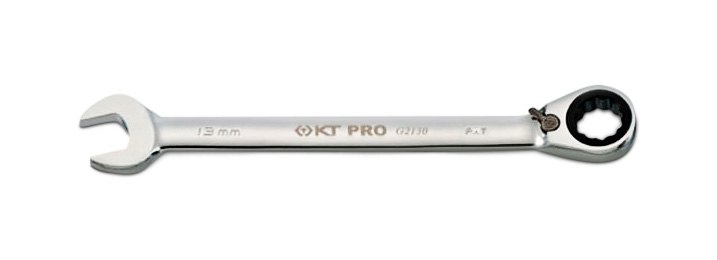
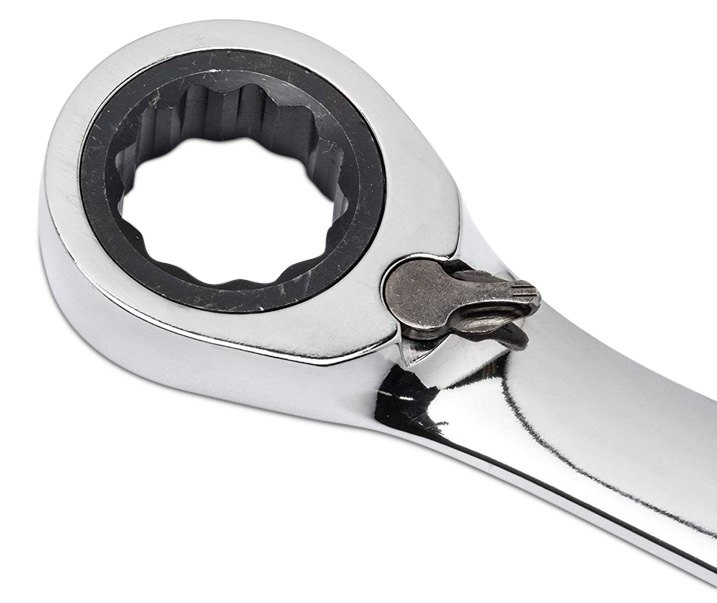
Combination wrenches come with 6-point or 12-point box ends. While 6-points are better to keep from rounding the fastener when extra leverage must be applied, such as when loosening rusted bolts, they require more swing to reposition the wrench on the fastener, making them impractical for use in some areas. Combo wrenches with ratcheting box ends are real time savers because you don't have to remove and reset the wrench on the bolt or nut, just keep swinging the wrench and the box end will spin in one direction and turn the fastener in the other. They can often be used where there isn't enough room for a socket, but because the ratchet mechanism makes the box end bulky, they may not fit where clearance is tight around the fastener.
While box end wrenches are best for all-around use, flare nut wrenches are the exception to the rule. A flare nut wrench has an open end at each end of the wrench, but instead of the ordinary U-shape, the open end looks like a 6-point box end with one side removed. This design allows the wrench to be slipped over tubing like fuel lines, brake lines, and hydraulic clutch lines and then provide a firm grip on five sides of the line fitting for removal and installation. Such fittings are usually made of soft material, and a regular open end could round the fitting and slip off before the line is loosened or sufficiently tightened.

Sockets & Ratchets
Because a socket manipulates a fastener from above, it can be used to loosen and tighten fasteners that would not be accessible using a wrench, which applies force from the side of the fastener. Sockets are turned by ratchets, which have a mechanism that allows the ratchet handle to turn freely in one direction and apply force in the other, so you can loosen or tighten the fastener without having to reposition the socket on the bolt or nut. A lever on the ratchet allows the direction of applied force to be reversed. Sometimes there isn't enough clearance to swing the ratchet handle and in those cases an extension, available in a range of lengths, can be used to connect the ratchet to the socket.
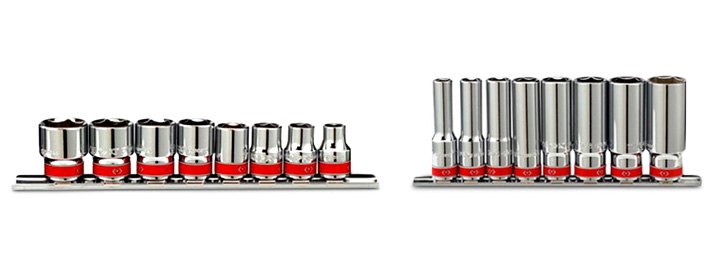
Sockets come in 6-point and 12-point and in standard, also called shallow, and deep well versions. Because the ratchet makes it easy to position the socket on the bolt or nut, we recommend 6-point sockets, for the additional grip they provide. Deep well sockets are handy for accessing recessed fasteners and removing nuts from studs. Ratchets, sockets and extensions come in 1/4"-drive, 3/8"-drive, and 1/2"-drive. The size is derived from the square drive fitting on the ratchet that engages the socket or extension. 3/8"-drive is ideal for most motorcycle work. Only a few fasteners on a bike, like axle nuts and fork caps, can't be handled by the largest generally available 3/8"-drive socket, and for those you can purchase a 1/2"-drive socket and use an adapter, or buy one of the various special tools that are available for those applications.
Standard chrome sockets are for use with ratchets and should not be used on an impact wrench. Chrome sockets are made of a harder steel that can crack when subjected to impact. Impact sockets are made of softer metal that can absorb the impact and therefore they are made thicker to remain durable. While impact sockets can be used with a ratchet, they are generally not a good choice for regular use because their thicker walls can make it difficult to access fasteners in tight spaces. Swivel sockets, sometimes called U-joint sockets, and swivel extensions, enable fastener manipulation when straight-on access isn't possible.
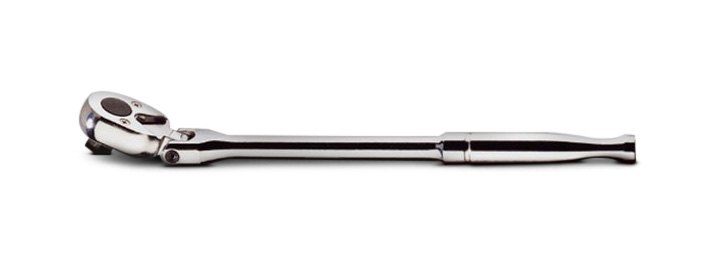
Sockets are available in both shallow sets and deep sets and in sets that combine both as well as a ratchet and extensions. Ratchets are available in a range of handle lengths, with metal and with cushioned grips, and with flexible heads. Higher number teeth, sometimes called fine tooth ratchets, are better for use in tight spaces because the handle doesn't have to be turned much to engage the next tooth, but on the flip side, ratchets with fewer teeth can handle more applied force. A breaker bar should always be used instead of a ratchet to remove stubborn or high torque fasteners to prevent personal injury or damage to the ratchet.
Torque Wrench
In your service manual you'll find torque specs for just about every fastener on your motorcycle. We recommend you observe them and final tighten fasteners with a torque wrench, especially if you're relatively new to bike wrenching. With experience you can develop a feel for tightening fasteners, especially if you've done a job many times, but some novices can easily over-tighten fasteners, resulting in broken bolts and a lot of choice words when you have to try to remove them. You can avoid that aggravation and swearing by torqueing fasteners. The click-type torque wrench that emits an audible click when the preset torque is reached, is the easiest to use. A typical 3/8"-drive wrench will have the torque range you need for most motorcycle work, but if you'll be doing a lot of engine work, where the fastener torque is very low, invest in a 1/4" drive unit as well.

Hex & Torx Tools
In addition to hex cap screws, bolts and nuts, most modern motorcycles are held together with internal hex, socket head bolts, more familiar to some as "Allen" bolts after the company that patented and were the first to produce them. Torx, another type of socket head bolt, but with an internal 6-point star pattern drive in place of the hex, are also commonly used. L-shaped Hex and Torx wrenches, also called "keys", are the traditional tools that are used to manipulate these fasteners. With the short end of the L inserted into the bolt, the long end is used for leverage when loosening or tightening; with the long end in the fastener it can quickly be spun in or out.
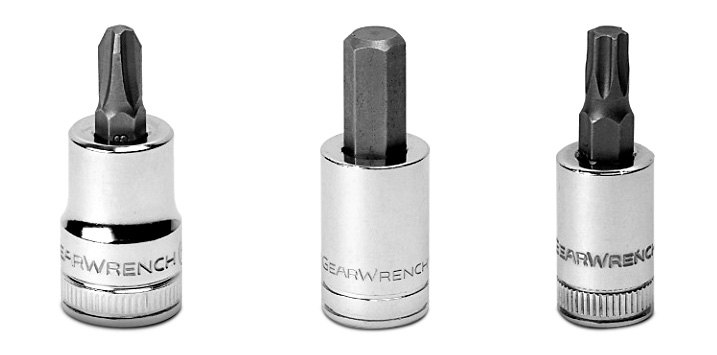
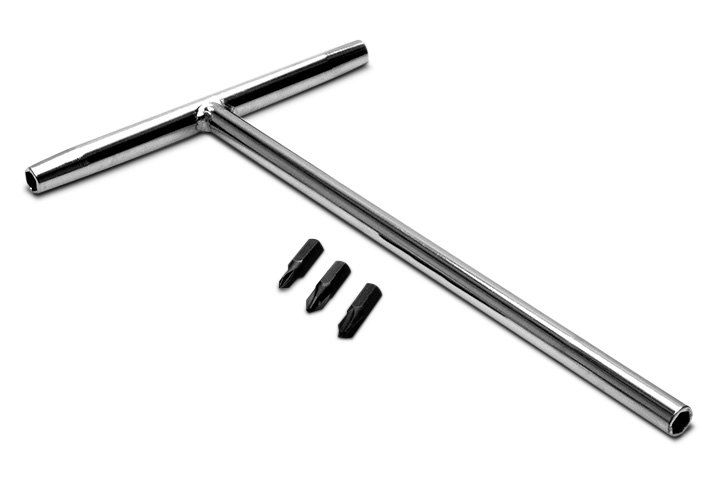
Hex and Torxe "bits", hex and Torx drivers in sockets that can be manipulated with ratchets and extensions, are preferred by many bike mechanics and they're a necessity for torqueing the fastener to specs with a torque wrench. Another variation that has proven to be very popular with both professional and DIY bike wrenchers are T-handle hex and Torxe wrenches. Some of these feature double-tips, with one tip projecting from the side of the handle, so the long end of the T can be used to provide leverage.

Screwdrivers
Thankfully, cross-drive screws aren't used much on motorcycles anymore. As anyone who has wrenched on old bikes can attest, it's difficult to work with them without stripping the screw head. In fact, it's a common upgrade to replace the old screws with modern internal hex socket head bolts. Of course, one reason that so many fasteners were butchered was because the wrong tool was used. Cross-drive screws are commonly referred to as Phillips screws, after Henry Phillips who popularized them. But although the screws that were used on Japanese motorcycles for many years looked like Phillips head screws, they were actually JIS (Japanese Industrial Standard) head screws. The walls of the cruciform recess in JIS screws are different than a Phillips head screw and using a Phillips head screwdriver can mangle both the fastener and the tool.

Even though there aren't as many of them, you'll still find some cross-drive as well as slotted screws on late-model motorcycles. To service new and old bikes you'll need slotted screwdrivers in an assortment of blade sizes and lengths; #0, #1, #2, and #3 Phillips screwdrivers in various lengths, and #1, #2, and #3 JIS screwdrivers. Or, you can go with bit sockets and use a T-handle or ratchet extension to get the desired length.
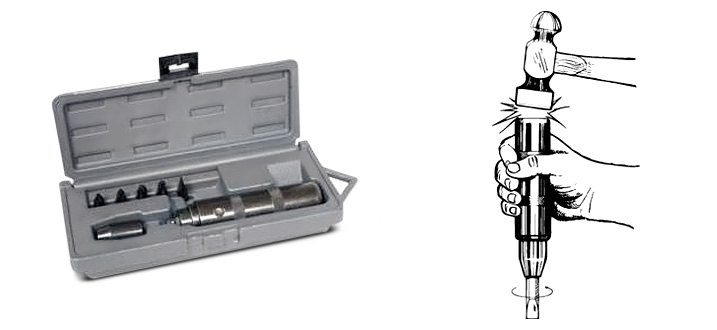
For stubborn cross-head screws the manual impact driver has long been the bike mechanic's savior. When struck with a hammer, the bit is forced into the fastener, thereby preventing the cam-out that commonly occurs with Phillips screwdrivers. At the same time, the mechanism within the driver provides rotational force that breaks the fastener loose. The direction of rotational force can be reversed for tightening if desired. Bits for both cross-drive and slotted fasteners are included with most manual impact drivers.
Pliers
When working on your bike there will be times you'll need to keep a component from turning, hold a part in place, grip something or grab something in a very tight space, remove and install circlips, cut wire, and attach electrical connectors. There are pliers that excel at each of these tasks and some that have multiple uses. Slip-joint pliers are perhaps the most well-known type because of their versatility. They have serrated flat jaws at the very front, with curved coarse teeth just behind for gripping round objects. The slip joint feature allows the pivot point to be changed so the pliers can grip a larger range of objects. Tongue-and-groove pliers, often called water pump pliers, have flat, serrated jaws and an even greater range of adjustment, plus the design and length of the handles enables more leverage to be applied.
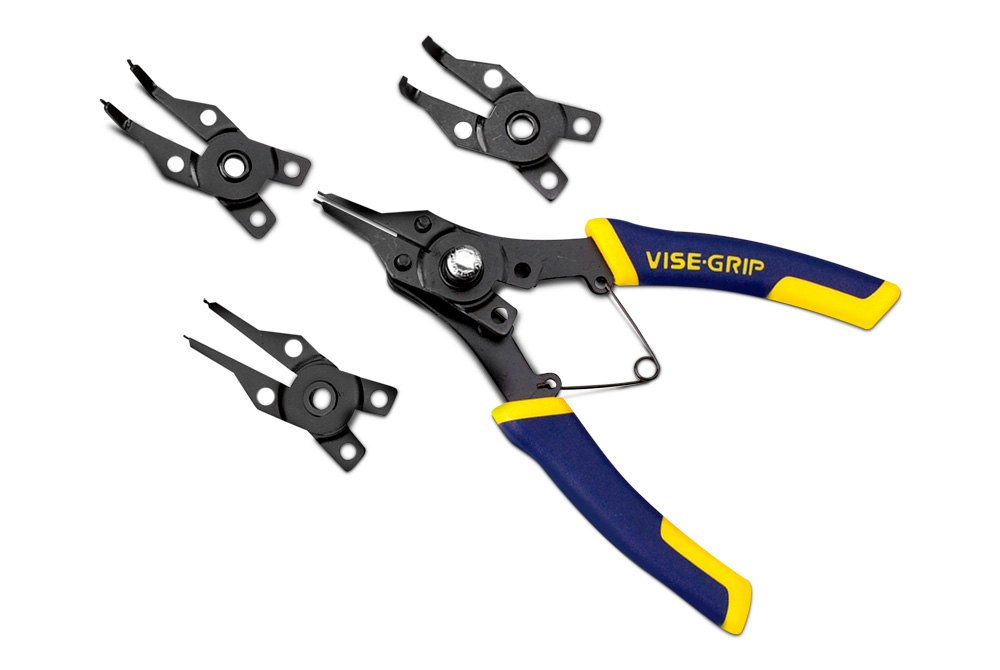
Combination pliers, sometimes called linesman's pliers, have serrated flat jaws for gripping and side cutters for wire cutting. Needle nose pliers are similar in construction to combination pliers in that they have flat, serrated jaws and often feature side cutters, but their long, tapered jaws allow them to provide grip in small spaces. Needle nose pliers are available in long reach designs and with straight and curved jaws. Circlips, also called snap-rings, are commonly used to retain components on shafts and in housings. There are pliers for both internal and external circlips, with fixed straight or curved tips, adjustable circlip pliers where the pivot can be changed to accommodate internal or external circlips, and adjustable pliers with interchangeable tips.
Locking pliers can serve as clamps, freeing your hands for other work, plus the internal locking mechanism provides more clamping force than would be possible with just your hand. Locking pliers are available in a range of sizes, with flat and curved serrated jaws, and in long-nose versions. Diagonal cutters, also known as side cutters, can be used to cut wire, cotter pins, and more. And while there are more specialized tools for electrical work, like dedicated wire strippers and crimping pliers, for occasional use multipurpose electrical pliers will do the job. These pliers can cut and strip the insulation from different gauge solid and stranded wire and crimp insulated terminal electrical connectors.

Measuring Tools
When you're checking and adjusting components, you must be able to measure dimensions like clearance and free-play, so they can be set to specifications. Adjusting valves, checking spark plug gap, adjusting the drive chain or belt, setting suspension sag, and adjusting clutch lever free-play are a few of the tasks that will require measuring tools.
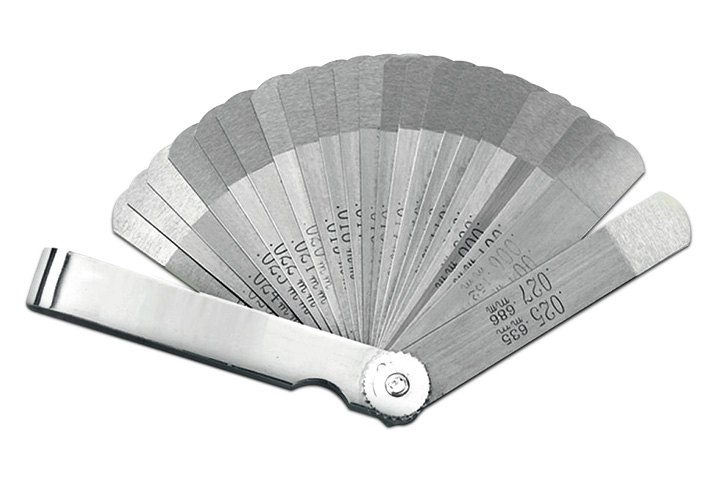
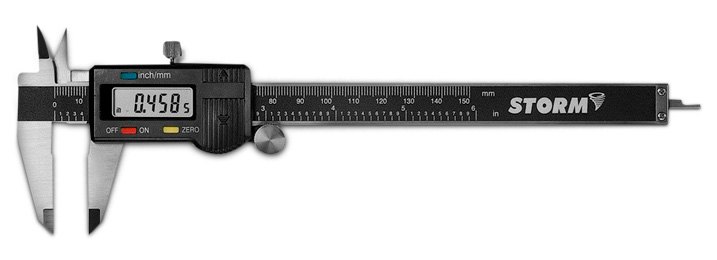
A measuring tape and 6" ruler will be able to handle most measuring tasks, but you'll need feeler gauges for checking valve clearance and checking ignition points gap on older bikes. These come in straight blade, angled blade, which can be better for access on some applications, and with go-no-go tips. On go-no-go blades the tip of the blade has the desired dimension and the rest of the blade is the next size up. If the clearance is right the tip of the blade will slide easily between the cam and follower or rocker arm and valve stem, but the rest of the blade will not. If your bike uses shims to set valve clearance, you'll have to measure them if valve clearance is incorrect, so you can calculate the thickness of the required replacement shim. A digital caliper will do the job and since this versatile tool is capable of both inside and outside measurements, you're sure to find other uses for it as well.
Miscellaneous
- Gasket scraper - a quality gasket scraper will remove the old gasket material without marring the sealing surface.
- Punches & Chisels - Center punches are used to make indentations to guide drill bits, tapered punches and drifts are used to drive components like pins, and chisels are used to cut and shape metal.
- Thread files - these feature various thread-per-inch thread chasing surfaces for cleaning up nicked up bolts so they thread in properly.
- Ball-peen hammer - for driving punches, chisels, bearing race installers, etc.
- Dead-blow hammer - Metal hammers can damage threads and other surfaces and should not be used directly on most components. To prevent damage but still provide the oomph you need, without the unwanted rebound you'd get with a rubber hammer, use a dead-blow hammer. They're made of plastic that won't mar the surface and the head is hollow and partially filled with sand or steel shot, which keeps the hammer from bouncing back.
Stands & Lifts
If your motorcycle has a center stand then you'll be able to perform most maintanance tasks and repairs. But even with a center stand if you want to remove the front wheel or service the forks, you'll need a way to get the front end up in the air. And if like many new bikes, all you have is a sidestand, you'll need more. But no matter what kind of bike you have, there are ways to lift it safely and easily and they're all detailed in this article here at MOTORCYCLEiD.
With the basic tools we've assembled here you'll be well-equipped to handle most maintenance and repair work on your motorcycle. But although this is a fairly comprehensive collection, it doesn't include the special tools that are often necessary for some service tasks. Stay tuned for Part 2 of this series, where we'll show you the many purpose-built tools that make jobs simpler and easier and give you the best results.
